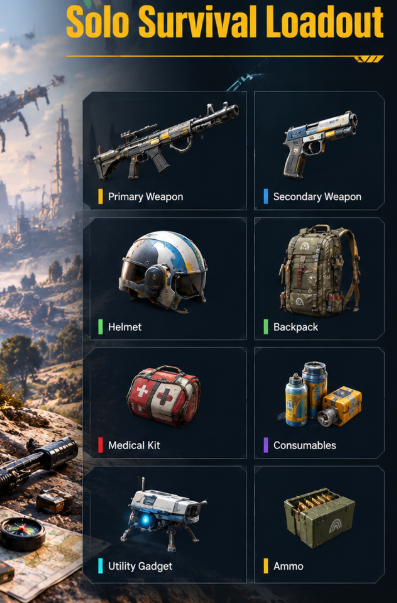
Playing ARC Raiders solo changes the way every raid should be approached. Without teammates to revive you, cover an exposed position, or carry extra supplies, a single bad engagement can end an otherwise successful run. The best solo loadout is therefore not necessarily the one with the highest damage. It is the setup that gives you enough flexibility to survive mistakes, disengage from bad fights, and reach extraction consistently.
Solo, Duo, and Trio matchmaking are supported, so players can deliberately queue for solo raids rather than relying on squad matchmaking.
Recommended Solo Loadout
For a balanced survival-focused setup, start with a versatile primary such as Tempest and pair it with Anvil as a secondary. This combination gives you reliable medium-range pressure while keeping a harder-hitting option available when an enemy gets closer.
Tempest is useful when you need to control an open area or deal with targets at medium distance. Anvil provides a strong backup when you need to finish an enemy quickly or deal with a more dangerous target.
If you are building several solo kits, maintaining a supply of useful ARC Raiders Items can also reduce the cost of failed runs and make it easier to replace lost equipment.
Choose the Medium Shield
The Medium Shield is the best all-around option for this type of build because it balances protection and movement.
Heavy Shields can provide more protection, but the additional weight can make repositioning and escaping more difficult. Light Shields offer better mobility but leave less room for mistakes.
For a solo player whose priority is extraction rather than constant PvP, the Medium Shield provides a comfortable middle ground.
Best Augment for Solo Survival
Looting Mk. 3 is an excellent choice for players who want to prioritize survival, inventory space, and safer extraction. Current community loadouts frequently use Looting Mk. 3 for solo PvE and loot-focused builds.
If you expect frequent PvP encounters, Combat Mk. 3 is a stronger alternative. Its passive regeneration and additional utility make it more suitable for players who deliberately take fights.
For a genuinely high-tolerance solo setup, however, Looting Mk. 3 makes more sense because the objective is to return home with valuable loot rather than maximize eliminations.
Keep Your Backpack Flexible
Solo players need to be more careful with inventory management because there is no teammate who can carry excess materials.
Bring enough ammunition and healing for the expected route, but leave several backpack slots open before deployment. This gives you room to collect valuable resources without immediately having to abandon lower-value items.
Avoid carrying expensive equipment simply because you have it available. A cheaper setup that you can comfortably replace is often better for repeated solo farming.
Players who want to expand their crafting options can also work toward useful blueprints instead of constantly purchasing replacement equipment. Even cheap ARC Raiders BluePrints can become valuable when they give you reliable access to gear you use regularly.
Essential Utility
Smoke grenades are one of the most useful tools for solo players. They give you a way to break line of sight, cross dangerous areas, and disengage when another player gains the advantage.
Healing supplies should also take priority over excessive offensive utility. A solo player who survives an initial encounter but cannot recover afterward is still vulnerable to the next fight.
Do not fill every available slot with grenades. Keep your equipment focused on mobility, recovery, and escape.
How to Play the Build
The most important rule is simple: do not fight just because you can.
Use cover whenever possible and avoid crossing large open areas without a clear reason. If you hear another squad nearby, consider changing your route rather than investigating.
When a fight starts, use Tempest to maintain distance. If the opponent pushes aggressively, switch to Anvil and use cover to control the engagement.
If the fight becomes unfavorable, throw smoke, break line of sight, and relocate. Surviving the encounter is more important than proving you can win it.
Extraction Should Be the Priority
A solo raid should become more conservative as your backpack becomes more valuable.
Once you have collected the important materials or completed your objective, start thinking about extraction rather than searching for additional loot. Every extra minute increases the chance of encountering another player or a dangerous ARC group.
This approach is especially important for players who are still learning the maps. Consistent successful extractions will build your inventory faster than occasional high-value runs followed by repeated deaths.
The recommended setup is:
- Primary: Tempest
- Secondary: Anvil
- Shield: Medium Shield
- Augment: Looting Mk. 3
- Utility: Smoke grenades
- Priority: Healing, mobility, and extraction
- Playstyle: Controlled fights and fast disengagement
The biggest strength of this build is its forgiveness. You do not need perfect aim or flawless decision-making every raid. The combination of flexible weapons, balanced protection, inventory capacity, and escape utility gives solo players more opportunities to recover from mistakes.
ARC Raiders rewards players who know when to walk away. For solo Raiders, that principle matters even more. Build for consistency, avoid unnecessary fights, protect your valuable loot, and extract while the raid is still in your favor. Over time, that approach will produce a much higher survival rate than simply bringing the most expensive gear available.
