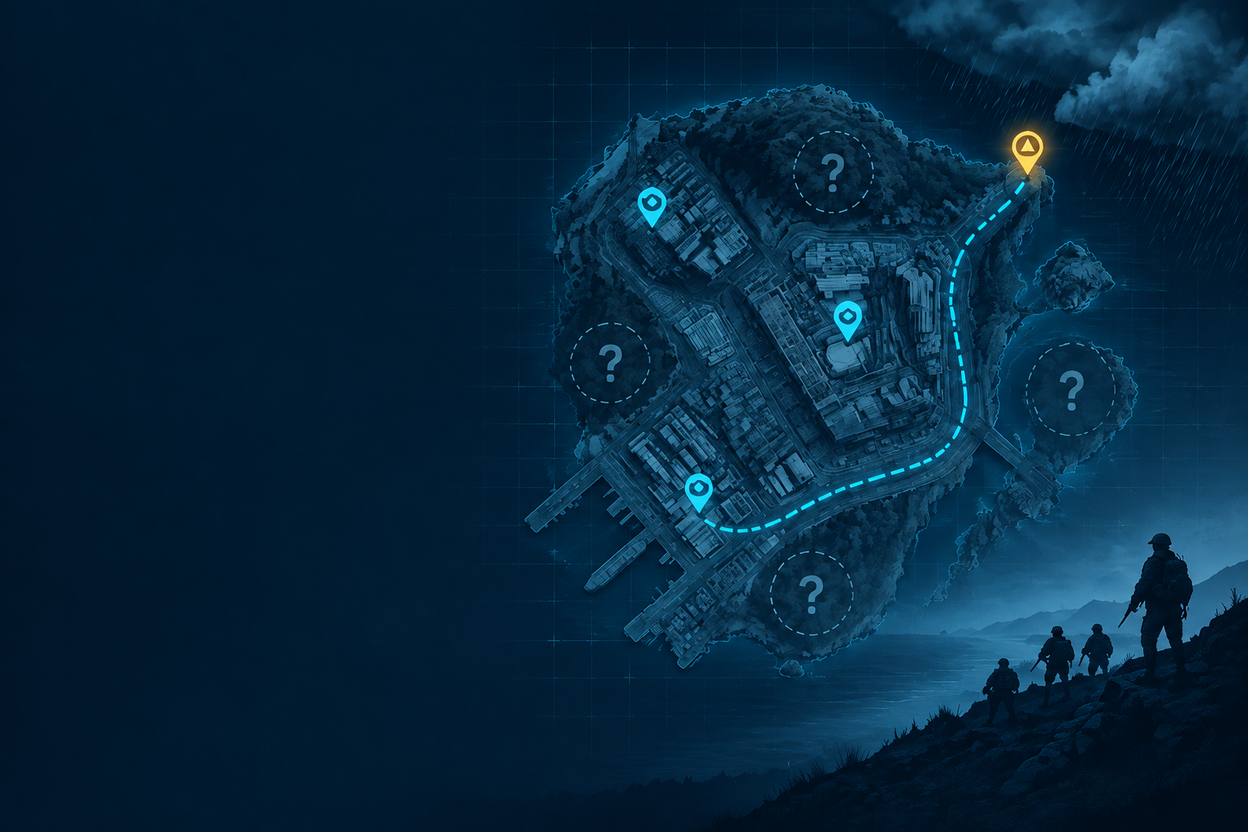
Call of Duty Modern Warfare 4 expands the DMZ experience with the Hajin Exclusion Zone, a persistent open-world map set near the tri-point border of the Korean Peninsula and Russia. Launching on October 23, 2026, Hajin uses a dynamic Threat Level system ranging from Low to Extreme, giving different areas their own level of enemy resistance and danger.
Understanding the Threat Level of each Point of Interest makes it easier to choose a suitable route and decide how much preparation a deployment requires. Lower-threat areas are useful for gathering supplies and completing early objectives, while higher-threat locations are built around tougher enemies, special hazards, and more demanding targets.
How The Hajin Threat Level System Works
Hajin is divided into five Threat Levels: Low, Medium, High, Critical, and Extreme. The system gives operators a quick way to judge the intensity of an area before committing to a route.
| Threat Level | Main Role | What To Expect |
|---|---|---|
| Low | Early preparation | Basic supplies and lighter enemy resistance |
| Medium | Gear progression | More demanding encounters and complex layouts |
| High | High-value objectives | Stronger enemies and special hazards |
| Critical | Dangerous targets | Heavy combat and high-value locations |
| Extreme | Highest-tier challenges | Elite resistance and complex environments |
Threat Level is not simply a measure of loot quality. It mainly indicates how dangerous an area is and how much resistance operators can expect. Player activity can also affect the situation during a deployment, so a route that begins calmly can become more demanding as operators engage enemies and make noise.
Low Threat Locations In Hajin
Low Threat locations are useful for building resources at the beginning of a deployment. These areas contain basic supplies and early objectives while giving squads more space to learn the surrounding terrain.
Deadtown combines abandoned residential and agricultural areas with essential survival gear and basic supplies. Its environment gives operators room to prepare before moving toward more contested sections of the map.
Imjin Farmland provides open fields surrounding the prominent Rice Mill. The area contains agricultural and industrial resources, making it a practical location for early resource gathering.
Cheongun Village offers a traditional village environment with standard equipment. Its lower Threat Level makes it suitable for squads that want to gather basic resources while becoming familiar with the surrounding terrain.
Mirae General Hospital provides useful medical supplies for squads preparing for a longer deployment. Its location can be helpful when operators need to replenish medical resources before moving toward more dangerous areas.
Songdo Wharf adds coastal access and rail lines to the map. Its position creates opportunities to move between different parts of Hajin while collecting maritime resources and general supplies.
These Low Threat areas are useful when a squad wants to establish a foothold without immediately committing to one of Hajin’s more dangerous zones.
Medium Threat POIs And Better Positioning
Medium Threat locations sit between the safer outer areas and the heavily defended sections of Hajin. Their layouts require more awareness, particularly around elevated positions, urban structures, and multi-level interiors.
Cheonwang Peak Array is a telecommunications facility located on elevated terrain. Its position provides long sightlines and makes the surrounding area important for operators planning movement across the map.
Wolves Stadium features a ruined sports complex surrounded by urban streets and commercial buildings. The combination of open streets and enclosed structures creates several different engagement opportunities.
Hajin River Heights combines residential apartments with wooded areas, giving operators a mixture of enclosed spaces and natural cover. The varied terrain can create both close-range encounters and opportunities to reposition.
NuriGO Mall East is a Medium Threat area with a multi-level commercial structure. Operators need to pay attention to entrances, stairways, and different routes between floors when moving through this section. Players using MW4 Bot Lobbies for practice can study these layouts and become more familiar with common movement paths before entering more demanding areas.
High Threat Areas And Special Hazards
High Threat locations introduce more demanding encounters and, in some areas, environmental hazards that require specific equipment. A squad entering these sections should have a clear objective and enough supplies to handle the route.
14th Political Prison is a large concrete fortress surrounded by watchtowers and contains valuable military hardware. Its fortified design makes movement and positioning more important than in the lower-threat sections.
Heavenly Luck Casino is another major High Threat location. The massive complex contains gaming floors and underground parking while being protected by elite forces. Its multiple interior spaces can make clearing the area more complicated, particularly when squads are dealing with strong resistance.
Haneul Nuclear Reactor presents a different type of challenge. A radioactive cloud covers the facility, so operators need radiation protection equipment and gas masks before attempting to explore its industrial and technological areas.
NuriGO Mall West reaches High Threat status and has a very different layout from the eastern section. Its underground shopping district is unlit, making night vision goggles important for navigating the dark interior.
When approaching these areas, preparation matters as much as firepower. Operators should consider their equipment, available medical supplies, and intended extraction route before entering a High Threat POI.
Critical Threat Locations In Hajin
Critical Threat areas are designed around intense combat and dangerous objectives. The major locations in this category combine fortified environments with high-value targets and more complicated movement routes.
The Grid is one of Hajin’s most demanding urban sectors. Fortified streets, barricades, and tall buildings create opportunities for engagements from multiple elevations, making positioning especially important.
The Citadel sits inside the 14th Political Prison and forms the core of the facility. The Y-shaped structure contains elevated walkways, cell blocks, and an industrial furnace, creating a complicated interior defended by high-value targets and heavily armored enemies.
Chang-san Air Base Exterior is another Critical Threat location. Its layout includes a jet runway, missile bunkers, and a toxic containment pool, creating several different combat environments within the same area.
Commanders and Lieutenants can also become important targets in these high-threat sections. Taking them on can provide valuable rewards, including 3D Printer ingredients and Dog Tag Cases, but squads still need to consider their extraction route before committing to the encounter.
Extreme Threat Areas And High Value Targets
Extreme Threat locations represent the most demanding sections of the Hajin Exclusion Zone. These areas combine powerful enemies with complicated environments and are intended for squads that are properly equipped for extended engagements.
Chang-san Air Base Underground contains a huge bunker complex beneath the surface facility. The underground area is larger than the facility above it, with a network of tunnels containing concealed military vehicles, advanced weaponry, and autonomous drone swarms.
Nenshin Tech Complex is another Extreme Threat location positioned deep within The Grid. Its location makes it one of the areas that heavily prepared squads can target when they want to explore some of Hajin’s most challenging content.
Extreme areas also change how squads should approach extraction. Carrying valuable equipment deeper into Hajin can make the return trip more important, so operators should keep several factors in mind:
- Remaining ammunition and medical supplies
- The distance to the intended extraction point
- Available vehicle routes
- Enemy activity along the return path
- Whether the squad has enough resources to continue fighting
A successful push into an Extreme Threat area is only part of the deployment. Getting back out with the secured gear requires the same level of planning.
Smaller Tactical Locations Worth Knowing
Hajin contains many useful locations outside its major POIs. These smaller facilities can provide resources or tactical advantages when a squad needs to adjust its route.
- Gas stations: Used for repairing and refueling vehicles on land and water.
- Fire stations: Useful locations for finding radiation gear.
- Police stations: Provide access to valuable armories.
- Clinics: Offer medical supplies during a deployment.
- UAV towers: Help reveal enemy positions.
- SAM sites: Allow operators to control sections of the airspace.
- Dynamic Operations: Add objectives that can change the direction of a deployment.
These locations can become important when the original plan changes. A squad moving toward a High Threat POI might stop at a clinic for medical supplies, use a UAV tower to gather information, or visit a gas station before continuing with a vehicle.
How To Plan A Hajin Deployment
A strong Hajin route starts with choosing a destination that matches the squad’s equipment and objectives. Low Threat locations are useful for early preparation, Medium Threat areas provide more challenging routes, and High, Critical, and Extreme locations demand progressively greater preparation.
A practical deployment can be planned around a few basic priorities:
- Choose an initial area: Start in a location that matches the squad’s current equipment and objectives.
- Build resources: Use lower-threat areas to gather supplies before taking on stronger enemies.
- Use tactical facilities: UAV towers, clinics, gas stations, and other smaller locations can support the main route.
- Watch the Threat Level: Moving deeper into Hajin usually requires more preparation and stronger coordination.
- Keep extraction in mind: Valuable gear is only useful if the squad can safely leave the Exclusion Zone.
The map also gives squads room to change plans during a deployment. Operators can gather resources in a safer area, use tactical facilities to prepare for the next stage, and then decide whether to continue toward a more dangerous POI.
Map knowledge becomes increasingly valuable as the Threat Level rises. Learning entrances, underground paths, vehicle routes, support facilities, and extraction options gives squads more ways to respond when a planned route changes. Bot Lobbies MW4 can also be a useful way for players focused on practicing map awareness and movement.
Hajin is built around those decisions. Instead of treating every POI the same way, operators can use the Threat Level system to decide where to gather resources, which objectives to pursue, and how aggressively to move across the map.