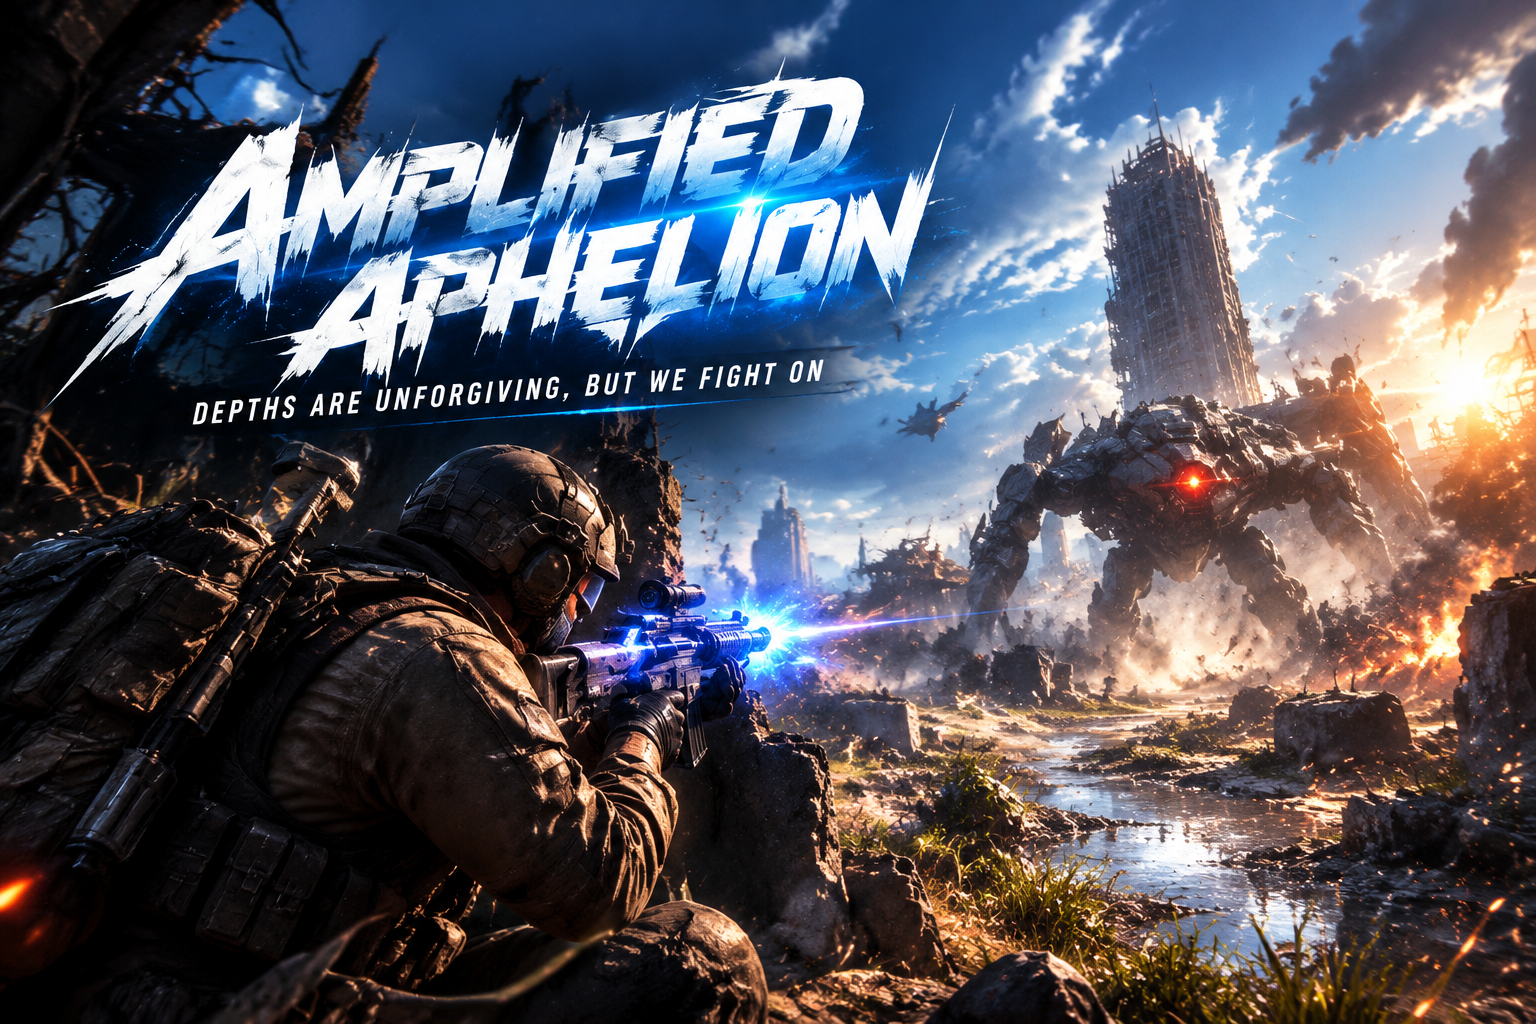
The Amplified Aphelion turns the Legendary battle rifle into a more specialized late-game weapon built around charge timing, larger bursts, and sustained pressure. Getting there requires more than collecting the right ARC Raiders Items: you need access to Frozen Trail’s Outpost progression, a Mk. V Amplification Module, the relevant research, and enough materials to finish the upgrades you actually want.
The main reason to amplify the Aphelion is Charged Burst. It changes how the weapon fires rather than simply adding another stat increase, so learning when to charge, when to release early, and when to save ammunition matters more than blindly completing every upgrade.
1. Prepare the Outpost Before Amplifying the Aphelion
Weapon Amplification arrived with Frozen Trail 2.0 as a late-game weapon progression system. Amplified weapons reach a fifth quality level and gain access to upgrade paths that can substantially change their behavior.
The Aphelion requires a Mk. V Amplification Module. Before committing one, make sure your Outpost progression is far enough along to support Amplification and that you can access the Research Workstation needed for the system.
Before You Commit the Mk. V Module
Have the base Aphelion ready.
- Develop the Outpost and its weapon-related progression.
- Gain access to the required Research Workstation functionality.
- Secure an Amplification Module Mk. V.
- Check the research requirements for the Aphelion upgrades you want.
- Keep the required upgrade materials instead of recycling or spending them elsewhere.
Do not treat the Mk. V module as the end of the grind. The module opens the path, while individual Amplifications still have their own material and research requirements.
2. Know What Each Aphelion Amplification Does
The Aphelion V supports four documented Amplifications: Bigger Mag, Charged Burst, Increased Burst, and Incendiary Rounds. Increased Burst has a direct dependency on Charged Burst, while the other upgrades can be incorporated around that core firing setup.
Bigger Mag
Bigger Mag increases magazine capacity by 6 rounds and requires 3 Pressure Regulators.
It is the easiest upgrade to understand because it does not change your firing input. Its value increases once you begin using larger bursts, since more projectiles per attack naturally put greater pressure on the magazine.
Charged Burst
Charged Burst is the defining Aphelion upgrade. It changes the weapon to a charge-and-release firing mode: the longer you hold the charge, the more projectiles can be released in the burst.
Its documented changes include:
- +2 maximum projectiles per burst
- +2 magazine capacity
- -2.5 base damage
- +60% vertical recoil
- +60% horizontal recoil
- Requires High-Voltage Exposure
- Costs 2 Queen Reactors
The damage reduction means Charged Burst should not be read as a simple per-shot damage upgrade. Its strength comes from concentrating additional projectiles into a prepared attack, while the recoil increase makes accurate burst placement more demanding.
3. Unlock Increased Burst After Learning Charged Burst
Increased Burst requires Charged Burst first. It adds another two maximum projectiles to the burst and requires the Extended Burst Cycles research plus 2 Pressure Regulators.
That dependency gives you a natural progression point:
Charged Burst → practice charge timing → Increased Burst
Do not rush Increased Burst simply because it raises the projectile count. A longer burst only pays off when enough projectiles stay on target, and Charged Burst already increases recoil significantly.
Use the basic Charged Burst configuration for several serious engagements first. Once you can consistently charge from safety and keep the release centered on a moving target, Increased Burst becomes a more useful investment.
4. Add Bigger Mag Based on Your Resource Situation
Bigger Mag does not need to wait until after Increased Burst. If you already have Pressure Regulators and want an immediate quality-of-life improvement, it can be added earlier.
That creates two sensible build routes.
Lower-Commitment Start
Bigger Mag → Charged Burst → Increased Burst
Choose this route if you want to improve magazine flexibility before spending Queen Reactors on the firing-mode conversion.
Burst-First Start
Charged Burst → Bigger Mag or Increased Burst
Use this route if changing the Aphelion’s firing behavior is your main reason for amplifying it.
Neither route changes the hard dependency: Increased Burst cannot come before Charged Burst.
5. Use Charged Burst From Cover
Charged Burst rewards preparation. If you wait until an enemy is already exposed before starting a long charge, part of your firing window may disappear before the weapon is ready.
A cleaner engagement sequence is:
- Identify the likely firing lane.
- Move behind solid cover.
- Begin charging before exposing yourself.
- Peek when the target enters a predictable position.
- Release the burst.
- Return to cover instead of standing exposed for another charge.
Doorways, corners, elevation changes, narrow approaches, and cover transitions are useful because they reduce the number of directions you need to track.
Against Raiders, this makes prediction more valuable than constantly chasing the largest possible burst.
Avoid overcharging: A maximum burst is not automatically the correct attack. If a Raider is about to break line of sight, releasing earlier can be better than finishing the charge and firing into cover.
6. Keep the Aphelion in Its Effective Engagement Window
The recoil added by Charged Burst changes how you should judge distance. Longer engagements give you time to charge, but they also make it harder to keep every projectile in an expanded burst on a moving target.
Very close fights create the opposite problem. An aggressive Raider can force you to react before a long charge is practical.
The Amplified Aphelion therefore works best when you can create a controlled firing window with enough distance to prepare the burst but not so much distance that recoil ruins the later projectiles.
Combat Decisions at a Glance
| Situation | Aphelion Response |
| Raider holding a predictable peek | Charge behind cover |
| Target crossing between cover | Time the release for the crossing |
| Large ARC target with a clean opening | Commit a heavier burst |
| Raider pushing at close range | Prioritize immediate response |
| Weak target | Avoid wasting a maximum burst |
| Target breaks line of sight | Cancel the commitment and reposition |
The goal is not maximum projectile count on every trigger pull. The goal is maximum useful hits for the ammunition and exposure time you spend.
7. Add Incendiary Rounds After the Core Build Is Working
Incendiary Rounds adds an incendiary effect that sets targets on fire after successful hits. The Aphelion version requires Thermite-Tipped Rounds research and 3 Fossilized Lightning.
This upgrade fits naturally around the burst setup because it rewards successful contact without changing the core charge-and-release input again. It does not compensate for missed projectiles, so Charged Burst control should remain the priority.
If resources are limited, think of the build in two layers:
Core behavior: Charged Burst, followed by Increased Burst when desired.
Supporting upgrades: Bigger Mag for magazine capacity and Incendiary Rounds for additional pressure after hits.
This distinction prevents you from treating every available node as equally urgent.
8. Manage Energy Clips Around Burst Size
The Amplified Aphelion can consume ammunition quickly once you start increasing the number of projectiles in each attack. Bigger Mag delays the reload, but it does not reduce the amount of ammunition you spend.
Against minor threats, use only the burst size needed to solve the immediate problem. Save heavier charged releases for Raiders or ARC targets that give you a clean enough opening to justify the ammunition.
This also reduces dangerous reload timings. Spending excessive Energy Clips on an easy ARC target can leave you reloading when another Raider enters the fight.
9. Do Not Bring the Aphelion V Into Every Raid
Amplified weapons have their own maintenance economy. Amplified Fragments are used to repair Amplified weapons, so repeated damage and losses can turn an expensive weapon into an ongoing resource drain.
Match the weapon to the deployment instead:
- Routine scavenging: consider cheaper gear.
- Difficult ARC objective: bring the Aphelion when concentrated damage has a clear purpose.
- Contested objective: use it when you expect Raider resistance and can control engagement distance.
- Low repair-material reserves: preserve the Aphelion until your Amplified Fragment supply recovers.
This is especially useful while you are still collecting research materials. Pressure Regulators, Queen Reactors, Fossilized Lightning, Amplification resources, and other ARC Raiders Items all represent progression value beyond a single weapon.
10. Build the Full Aphelion Only When You Can Maintain It
A developed Aphelion can combine Bigger Mag, Charged Burst, Increased Burst, and Incendiary Rounds. These upgrades complement one another: Charged Burst establishes the new firing style, Increased Burst extends it, Bigger Mag supports the higher ammunition demand, and Incendiary Rounds adds pressure after successful hits.
Players who buy ARC Raiders Weapons as part of their gearing route should still plan around the Amplification system separately. Getting the base Aphelion does not replace the Mk. V module, research progression, upgrade materials, ammunition management, or repair resources needed to develop and maintain the amplified version.
Start with the Outpost and Research Workstation progression, secure the Mk. V module, and make Charged Burst your first major mechanical upgrade. Learn to charge behind cover before extending the burst, add Bigger Mag when magazine pressure becomes noticeable, and finish Incendiary Rounds when your material supply can support it. Once the weapon is ready, reserve it for raids where its extra investment actually improves your chance of completing the objective and extracting with the weapon intact.